
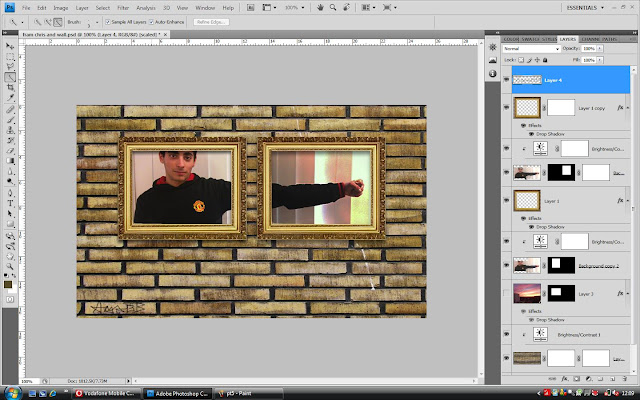
Here's the process how I constructed the whole image:
Step 01: Imported the image into the software.
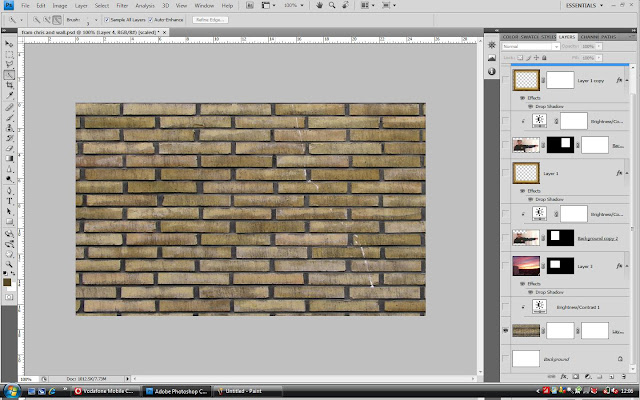
Step 02: Edited brightness and contrast filter.

Step 03: I had to crop the frame in another different Photoshop window and then placed the image into current window. Then I had to split the image placed in the frame by using the rectangular marquee tool and applying a vector mask then.


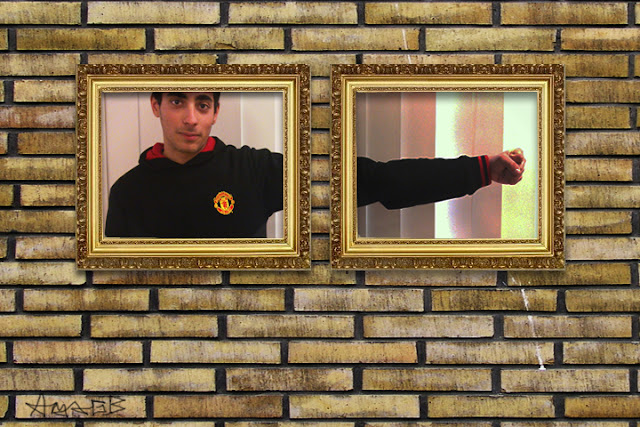
Finalized Image.
Here are the Sample images I used to create the finalized image:


No comments:
Post a Comment